Answer Key
Module 4: Photo Booth

Module 9: Quiz
1.

2.
3.
4.
5.
6.
7.
8.
U.S. Standards
- CCSS-Math: MP.1
- CCSS-ELA: SL.3.1, SL.3.3, SL.4.1, SL.4.1.C, SL.5.1, SL.5.1.C, SL.5.1.D, SL.6.1, SL.6.1.C, SL.7.1, SL.7.1.C, SL.7.1.D, SL.8.1, SL.8.1.C, SL.8.1.D
- CSTA: 1B-AP-11, 1B-AP-12, 1B-AP-15, 2-AP-13, 2-AP-16, 2-AP-17
U.K. Standards
Key stage 2
Pupils should be taught to:- design, write and debug programs that accomplish specific goals, including controlling or simulating physical systems; solve problems by decomposing them into smaller parts
- use sequence, selection, and repetition in programs; work with variables and various forms of input and output
- use logical reasoning to explain how some simple algorithms work and to detect and correct errors in algorithms and programs
- understand computer networks, including the internet; how they can provide multiple services, such as the World Wide Web, and the opportunities they offer for communication and collaboration
- use technology safely, respectfully and responsibly; recognise acceptable/unacceptable behaviour; identify a range of ways to report concerns about content and contact
Key stage 3
Pupils should be taught to:- design, use and evaluate computational abstractions that model the state and behaviour of real-world problems and physical systems
- undertake creative projects that involve selecting, using, and combining multiple applications, preferably across a range of devices, to achieve challenging goals, including collecting and analysing data and meeting the needs of known users
- create, reuse, revise and repurpose digital artefacts for a given audience, with attention to trustworthiness, design and usability
- understand a range of ways to use technology safely, respectfully, responsibly and securely, including protecting their online identity and privacy; recognise inappropriate content, contact and conduct, and know how to report concerns
Description
Augmented Reality courses are a new way to extend coding beyond the screen. In this introductory course, your students will discover how to use the webcam in their computer or iPad to build interactive experiences that blend the real and virtual world. They will be able to physically stand in front of the camera and participate in the games they build by waving their hands or dancing, rather than just watching a screen. They will be able to physically stand in front of the camera and participate in their apps by waving their hands or dancing, rather than just watching a screen.
This course includes 10 lessons. Students are introduced to the new AR blocks where they learn to turn the webcam on and off, take a screenshot and mask pictures. Through the course, they learn a variety of useful augmented reality concepts such as motion sensing, color calibration, gesture detection and motion direction sensing, so that they can build a wide range of AR. In the last four lessons, they apply all the concepts they have learned to build fun AR versions of classic games such as Fruit Ninja, Pong, Brick Breaker, as well as a boxing game.
Each augmented reality lesson is designed for a class period of 45-60 minutes. Students will learn AR concepts on their own as they complete interactive tutorials, solve coding puzzles, build their own projects, and take quizzes. All student work is automatically tracked and assessed; and with access to Tynker's premium offerings, you'll even be able to monitor student progress and mastery charts.
Topics
- Video control
- Simple events
- Basic math
- Conditionals
- External events
- Simple sound playing
- Simple physics
- Advanced physics
- Expert physics
- Advanced costume handling
- Delays
- Simple variables
- Simple loops
- Simple motion
- Simple drawing
- Pen color
- Color detection
- Direction and turning
- Simple messaging
- Screen bounds
- Actor properties
- Cloning
- Advanced motion
Technical Requirements
* Online courses require a modern desktop computer, laptop computer, Chromebook, or Netbook with Internet access and a Chrome (29+), Firefox (30+), Safari (7+), or Edge (20+) browser. No downloads required.
* Tablet courses require an iPad (iOS 10+) with Tynker or Tynker Junior app installed and Internet access
Lesson
1 : Activating Visuals
Augmented Reality
Time: 45+ minutes
Introduction
Tynker Blocks Introduced
Vocabulary
Objectives
Materials
Warm-Up (10 minutes)
Activities (30 minutes)
Facilitate as students complete all Activating Visuals modules on their own:
1. Introduction (Video)2. Concepts (Video)
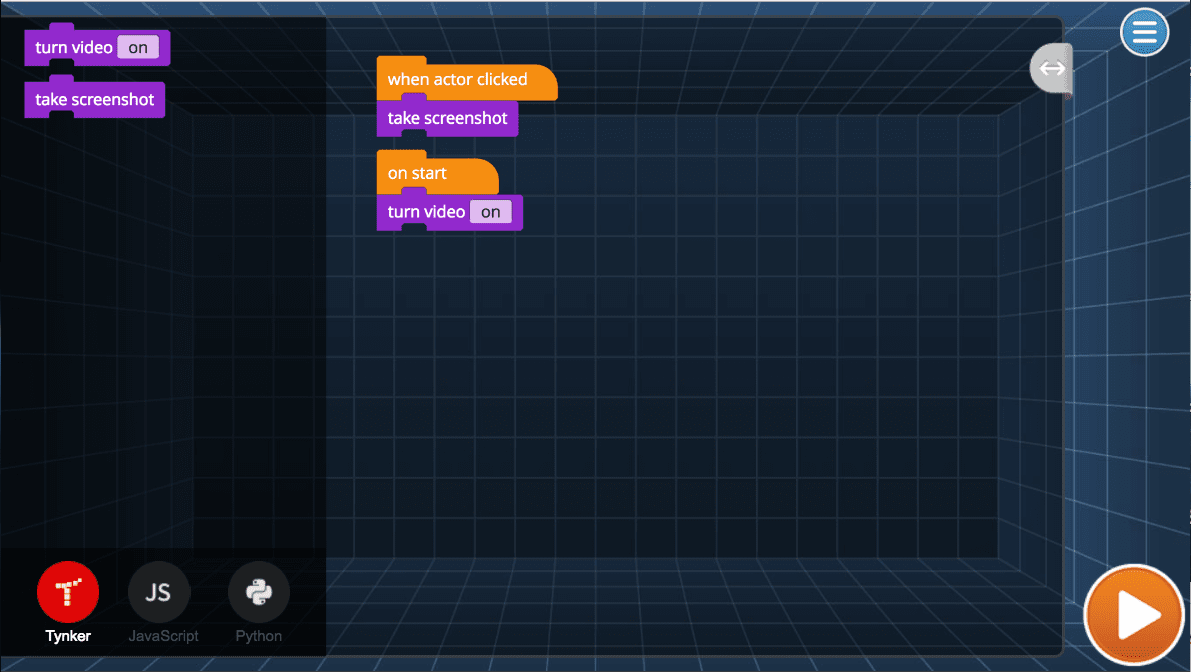
3. Photo Booth Intro (Video)
4. Photo Booth (Puzzle)
5. Live Stream Intro (Video)
6. Live Stream (DIY)
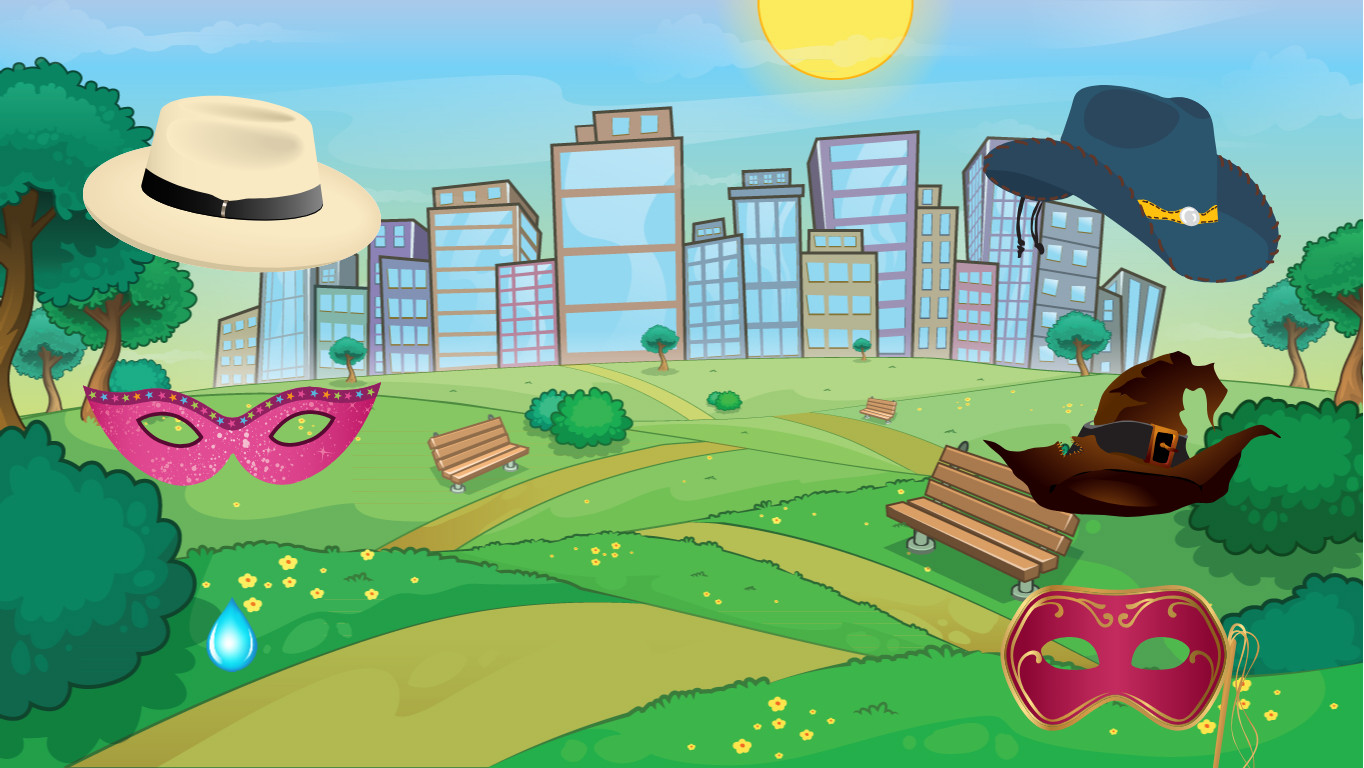
7. Costume Party Intro (Video)
8. Costume Party (DIY)
9. Quiz (Multiple-Choice)
Optional Activities (20 minutes)
You can not access this material with your current plan.
Class Presentations, Student Experience View, & Answer Keys are all included in our teacher plans!
Upgrade now to get access to our award-winning Tynker Curriculum.