
Table of Contents
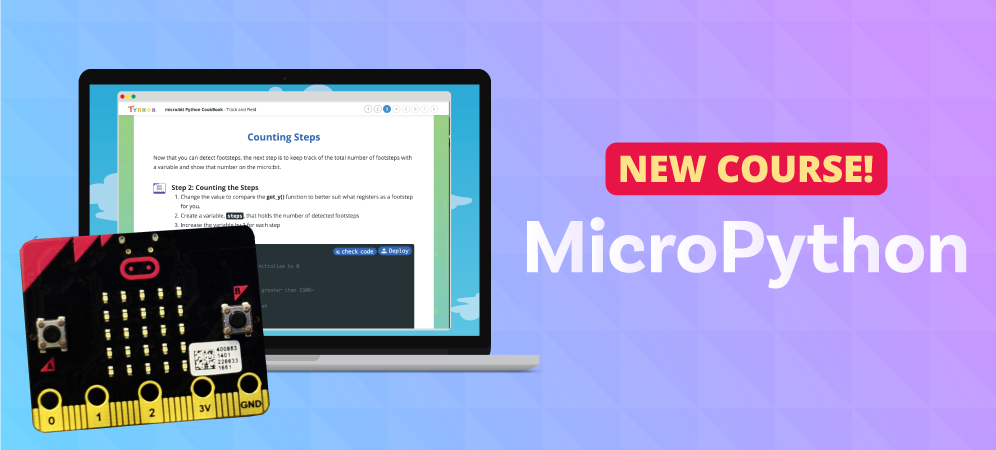
Learn to Program micro:bit Using MicroPython!
Ever wanted to create your own gizmos with motion sensors, LEDs, temperature sensors and motors? You can do it with micro:bit, a tiny programmable computer using Tynker block programming and MicroPython, a mini version of Python. Tynker’s new MicroPython course for the micro:bit allows users to apply their coding skills to the world of physical computing and build tangible projects such as LED emojis, a real-world thermometer, lap timers, pedometers and even a two-way Morse code communicator. As they complete this course, they’ll get a firm grasp on the relationship between software and hardware. Read on to learn more about MicroPython 101!
What is a micro:bit, and what is MicroPython?
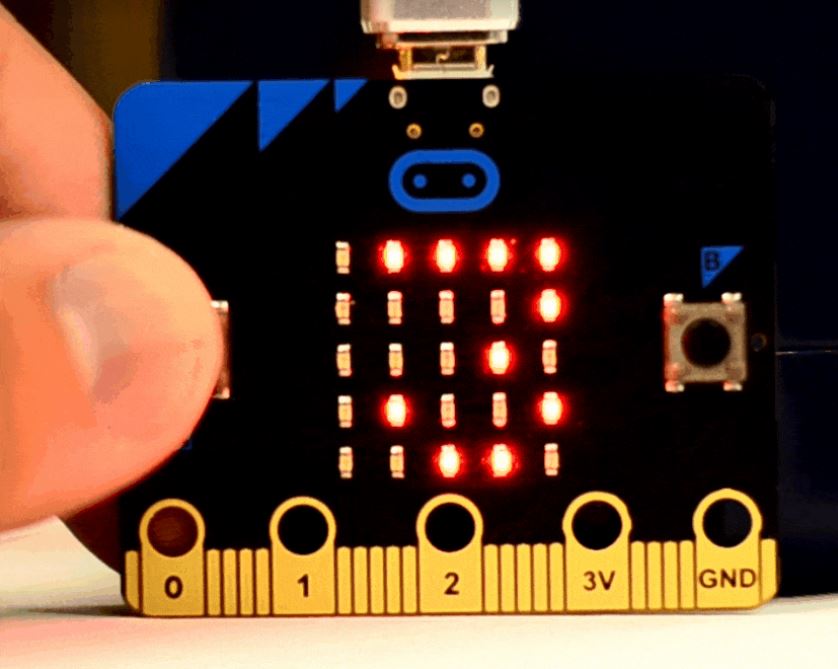
A micro:bit is a mini computer that has a built-in features like sensors, buttons, a 5X5 LED display, a compass, a thermometer, and a radio. All of these sensors are programmable. For example, using code, users can light up specific LEDs or read the values of these sensors. It is also possible to use the built-in wireless transmitter and create multiplayer interactions between several micro:bits.
MicroPython is a smaller version of Python that you can use to program the micro:bit. Users will need to understand Python in order to succeed with the MicroPython 101 course. (Do they need to brush up on their Python skills? Check out Tynker’s Python 1 and Python 2 courses!)
The micro:bit connects to a computer via a USB device, so users can actually deploy code from each MicroPython 101 course page on their screen to the micro:bit itself. They’ll use the MicroPython language within the Tynker Code Editor to program their micro:bit.
Getting your Micro:Bit and external supplies
Users will need a variety of supplies to complete the projects, depending on which activities they choose to do. Supplies needed include:
- micro:bit, USB cable, Battery pack, 2xAAA batteries (for each user or group of users)
- Accessories: Lessons 13, 14 require a Piezo speaker and Alligator clips
- Lessons 15,16 require two or more micro:bits
This course requires a micro:bit to run the projects. We recommend that you purchase the micro:bit Go Kit that is available from these leading online locations:
While you’ll be able to do most projects in the course using a single micro:bit microcontroller, there are a couple of projects in lessons 13 and 14 that require additional external parts such as a Piezo speaker and Alligator clips.
Additionally, we would like to point out that there are several micro:bit expansion kits packed with a lot of fun sensors like speakers to expand the scope of your tinkering!
Using the MicroPython course
When users launch the MicroPython course from their student dashboard, they will access the course in a Jupyter notebook format, just like Tynker’s other text programming courses. The course is organized like a recipe book. In each chapter, they complete one project. This course does not teach Python syntax, and it is recommended that users complete either Python 1 or Python 2 before trying this course.
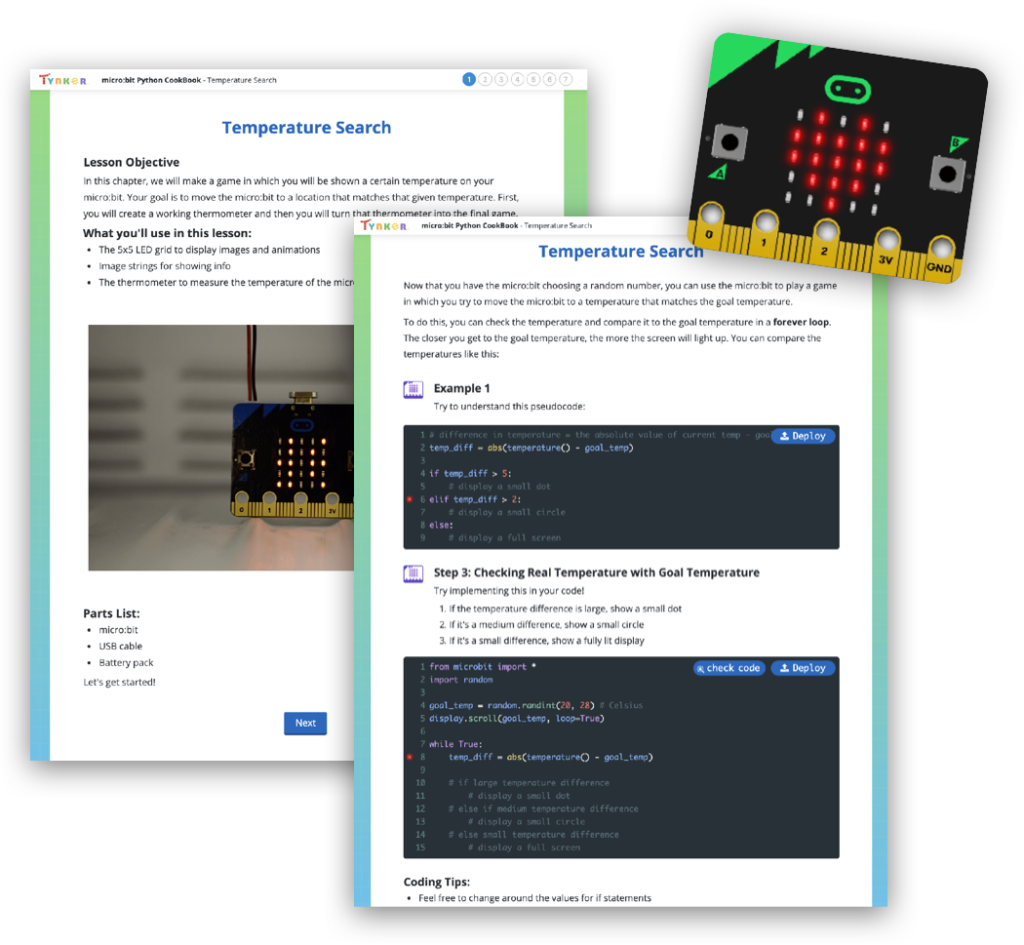
Users follow straightforward step-by-step instructions to complete their project. The course also features quizzes and a MicroPython Function Reference Guide to assess and enhance users’ understanding of the concepts. This course includes 14 lessons and 86 activities, so users will have plenty of opportunities to practice their skills!
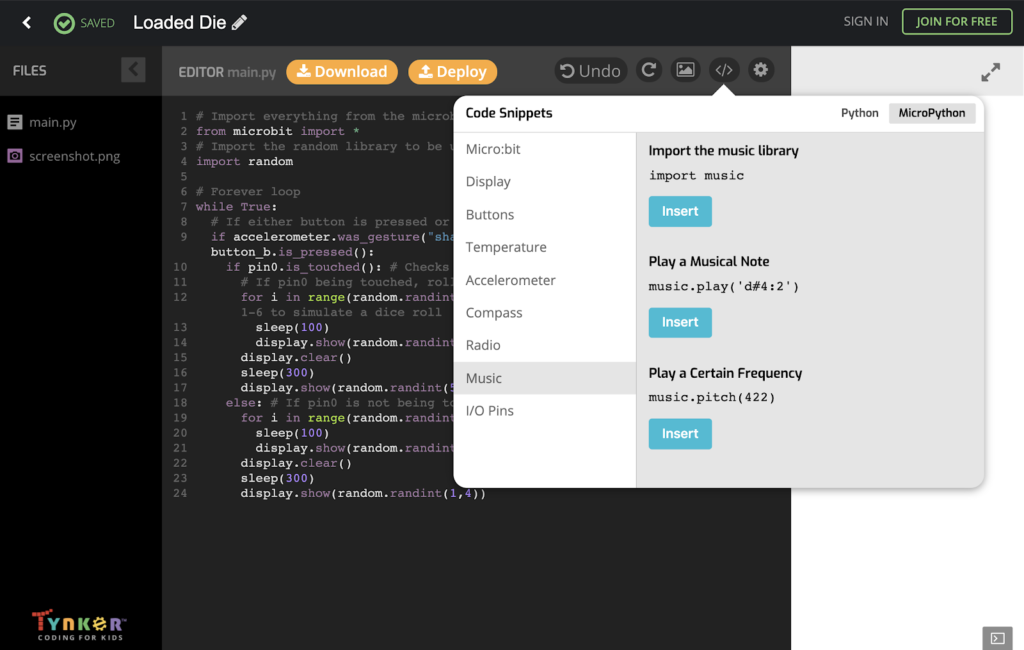
The micro:bit connects to a computer via a USB device, so users can actually deploy code from each MicroPython 101 course page on their screen to the micro:bit itself. The course is browser-based, and does not need you to install any additional software on your computer. If you use a browser such as Chrome that supports WebUSB, you can directly flash the MicroPython code to your connected micro:bit from your browser. If your browser does not support the WebUSB standard, the course enables a download button so that the code can be downloaded to your computer. You will need to drag the code file using your file manager to the micro:bit that appears as a USB external drive on your computer desktop.
Users can also create MicroPython programs outside the course using Tynker Code Editor and deploy these programs to micro:bit. Try sample code from our directory of MicroPython examples here.
How to Access MicroPython 101
Parents:
- Have your child log in to their account at tynker.com
- Under the ‘Learn’ tab, go to ‘Robotics & IOT’
- Find the MicroPython course at the bottom of the page
- Start making with micro:bit and MicroPython!
Teachers:
- Log in to your account at tynker.com
- Find MicroPython 101 in ‘Courses’
MicroPython 101 is available as part of your K-8 subscription plan.
As technology continues to evolve, kids need to learn not just how to program, but how code actually interacts with devices. Plus, there’s no better way to practice hands-on engineering skills like manipulating physical objects, problem-solving, and debugging than by pairing a programming language like MicroPython with a mini computer like the micro:bit!
Get started with MicroPython 101 today!
EXPLORE COURSES


