Table of Contents
Programming micro:bit with Tynker Blocks
With the new Tynker Workshop, you can now build micro:bit programs using Tynker Blocks. Block coding is a great option for anyone who wants to start experimenting with the micro:bit programmable computer. Whether you want to build a robot or design a game, the available library of blocks is a great starting point. Additionally, the newly launched micro:bit 101 coding course is available as part of Tynker’s premium home and school plans.
Getting your micro:bit
This course requires a micro:bit to run the projects. We recommend that you purchase the micro:bit Go Kit that is available through leading online locations such as Amazon, Adafruit, Sparkfun and Newark. The Go Kit includes the micro:bit microcontroller board, SB cable, battery pack, and 2 AAA batteries.
The micro:bit has built-in sensors for motion sensing, temperature, on-board buttons and an array of LEDs. In addition, you can purchase external accessories such as piezo speakers, motors, cables, and alligator clips to extend your project beyond the board. There are also several packaged micro:bit expansion kits available, such as Adeept and Hummingbird.
Building your first micro:bit program
It is really simple to get your first micro:bit program running.
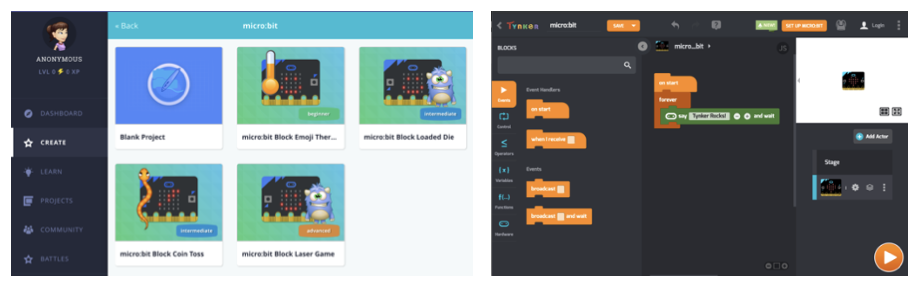
Under Create, you’ll now see a new micro:bit category. Choose “Blank project” to create a new micro:bit program.
When Tynker Workshop opens, you’ll notice a few blocks that we’ve already added just to get you started.
To run this program, you’ll have to “flash” or transfer your code to the micro:bit.
Flashing your code via USB cable
Make sure that your micro:bit is plugged in to your computer using a USB cable. Your computer should detect the micro:bit as a USB drive called “MICROBIT”.
- Click the Play button in Tynker Workshop, and a modal dialog appears with these instructions.
- Click on the “Download HEX File” button to download the compiled file. (HEX is short for hexadecimal and a format of code used for microcontrollers like the micro:bit).
- Drag the HEX file into the USB drive.
Once your code transfer completes, your micro:bit will restart and run the code.
Try changing the message to “Hello micro:bit” and run your new code!
Flashing your code via Bluetooth (no cables!)
If you are using Tynker in a Chrome browser, you can flash your code using Bluetooth, eliminating the need for any cables. Note that for the very first time (only), you’ll need to flash the code via USB, and this sets up the micro:bit to receive code via Bluetooth. Check here to see if Web Bluetooth is supported by your browser.
Programming the micro:bit using Tynker Blocks
Explore the available block categories in Tynker Workshop under the “hardware” category. You’ll see a range of new sub-categories and blocks just for the micro:bit. These are the new sub-categories of blocks:
- Display – Use these blocks to program the 5X5 LED grid. The display block allows you to set specific LEDs to ‘on’ or ‘off’. You may also use other blocks to display scrolling text, display predefined “emojis,” and read the current setting of an LED.
- Buttons – There are 2 buttons on micro:bit that you can use in your programs. Use the blocks in this category to detect and program the button-press events.
- Sensors – Detect temperature, infrared light, motion, and direction using the built-in sensors. These blocks allow your program to interact with the physical hardware sensors.
- Keyboard and mouse – Use these libraries to emulate the keyboard and mouse signals. Using these blocks, you can emulate a Bluetooth mouse or keyboard as a means of wireless communication with a computer.
- Pins – Use these blocks to program the external connector pins and the serial interface. These are typically used when you connect accessories such as speakers and motors as well as devices that support the Serial Peripheral Interface (SPI).
- Serial – Use these blocks to communicate using a serial port protocol over the USB interface. For example, you can use this interface to debug your code by printing values on to the serial port and reading them on a computer terminal.
- Radio – Use the built-in communication radio to send and receive messages between other micro:bits. These blocks allow you to create multiplayer games and two-way communication programs.
- Music –The micro:bit comes with a powerful music module. Use these blocks to generate MIDI-style musical notes that can play on an external speaker connected to the micro:bit.
- Sprites – A useful library of blocks to create games using the LED display. A sprite is a visual element on the 5X5 grid, and can be as simple as one lit-up LED. The blocks allow you to move or turn the sprites so that you can create a game using the LED grid as a display.
Exploring the Free Tutorials
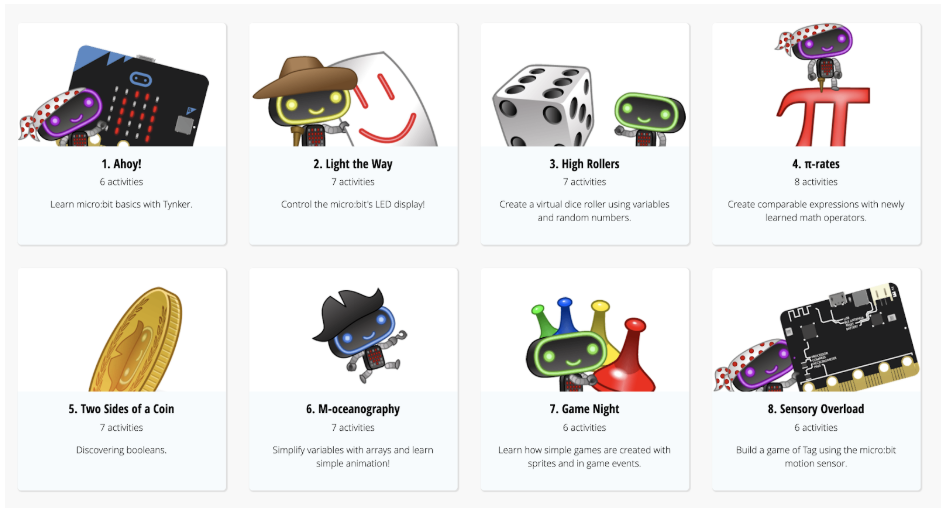
We have included four tutorial projects for you to try. Simply follow the interactive steps to complete each project:
Emoji Thermometer – Detect ambient temperature and display an appropriate emoji
Coin Toss – Simulate a coin toss using a random number generator
Loaded Dice – Program a die to always land a 5 or a 6
Laser Game – A fun game for two players using LED sprites and the radio
micro:bit 101 course
We’ve added a new course that is designed to help beginners understand micro:bit programming using Tynker Blocks. Students learn to program the LED array, detect motion, and build simple games on the micro:bit. This course is recommended as an elective for elementary students and will work great for tactile learners.
Younger learners respond well to visual and hands-on learning approaches. That’s why we believe that electronic boards like the micro:bit and connected toys such as LEGO WeDo and drones are a great way for kids to learn to code. With our new block library, free tutorials and the new micro:bit 101 course, even beginners can bring their ideas to life with the micro:bit.
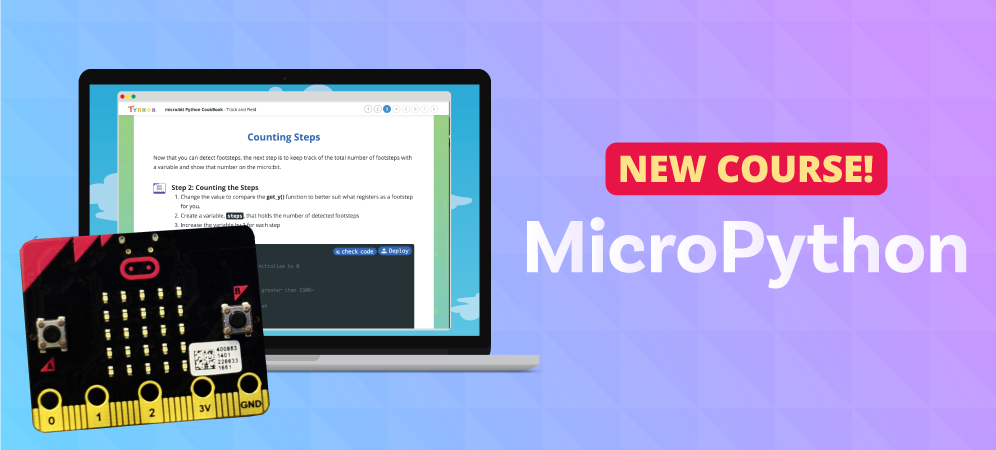
Advanced learners can learn to program the micro:bit using MicroPython, a version of Python for microcontrollers. For more information on this topic, see “Learn to Program micro:bit Using MicroPython!”.
How to Access micro:bit 101
Parents:
· Have your child log in to their account at tynker.com
· Under the ‘Learn’ tab, go to ‘Robotics & IOT’
· Find the micro:bit course
· Start making with micro:bit and Tynker Blocks!
Teachers:
· Log in to your account at tynker.com
· Find micro:bit 101 in ‘Courses’


