Wondering what all the fuss is about with Tynker’s new AI blocks? You’ll see three cool new extensions that simplify working with AI for kids — friendly metaphors that will help them see the big idea of computer science — and get them excited about coding, too.
Find these cool FREE projects by logging in at tynker.com, them choose Projects > Create Project > AI/ML. You’ll find simple starter “blank projects” with extensions enabled, as well as patient, step-by-step how-tos on the basics.

Table of Contents
Watch Our Recorded Webinar
Want a hands-on demo? Join us for a FREE 30 minute walkthrough and then share these projects with your students! Any teacher grades K-12 are welcome to join, free of charge.
Sign up for immediate access to the recording! If you just can’t wait to dive into using the AI Blocks, keep on reading.
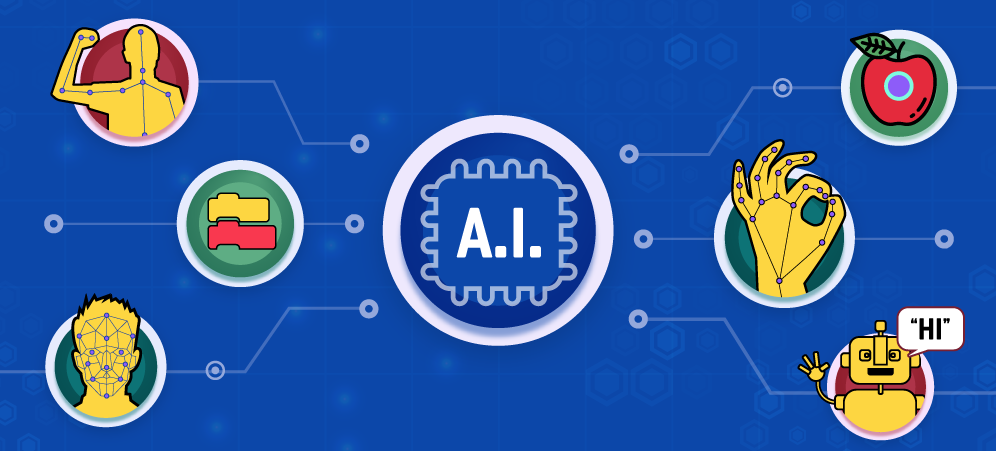
Pose Detection Extension
You’ve always been able to use live video and your computer’s webcam using Tynker’s Augmented Reality blocks (AR). But now, Tynker has added hand, face, and hand detection to the Workshop, allowing for amazing interactive projects.
Take your webcam’s input to the next level — if you enable the Pose Detection AI you’ll see blocks with unique capabilities:
- Face — Track landmarks on your face like your eyes and mouth. Create cool costumes and photo filters.
- Hands — Create games and apps that follow your fingers!
- Body — Create a dancing game or an exercise tracker.
Tons of Customization! These are the blocks that do the magic. Try them out in your code!
Object Recognition Extension
You’ll find another extension called Object Recognition — blocks that help classify objects — either using static photos or live video.
Natural Language Processing Extension
You’ll also find Natural Language Processing (NLP) blocks that allow you to create chatbots, and other fancy text-processing applications easily, with block code.
Tip: Enable only the Tynker extensions you need. It usually makes sense to enable these extensions one-at-a-time.
Project Ideas
You’ll find patient step-by-step tutorials after logging into tynker.com at +Create Project > AI/ML. You’ll find simple starter “blank projects” with extensions enabled, as well as patient, step-by-step how-tos on the basics.
Looking for even more? Check out the starter scripts below, too!
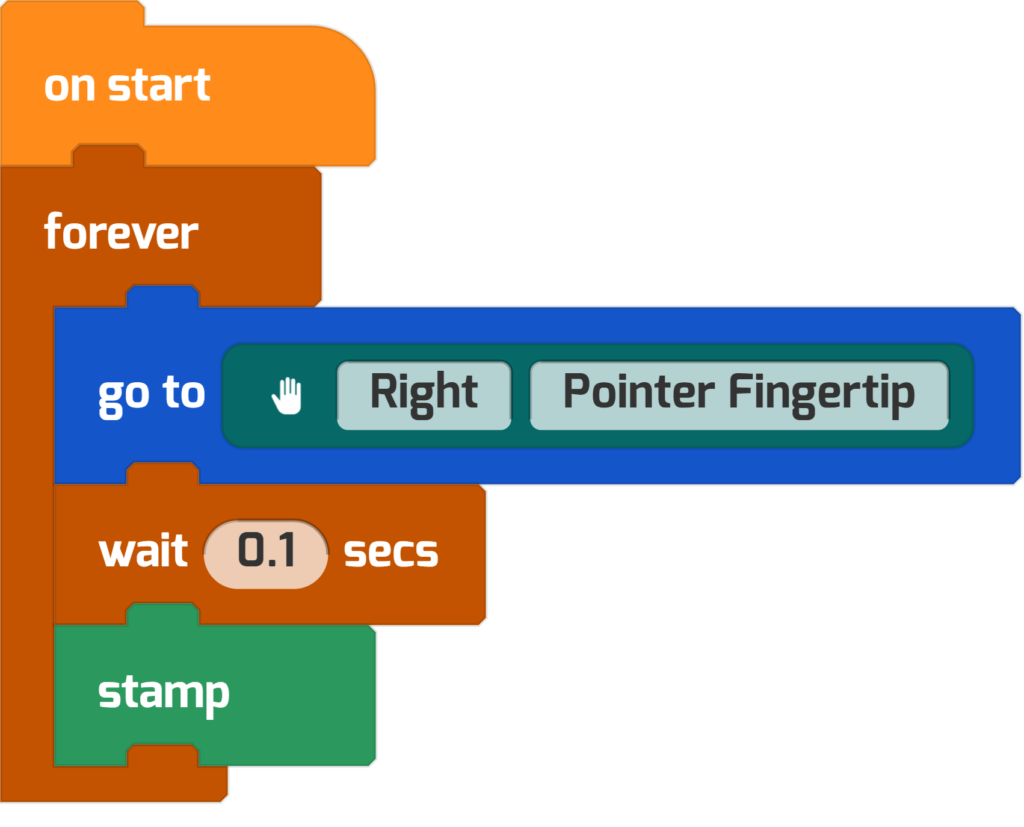
Project #1: Finger Paint
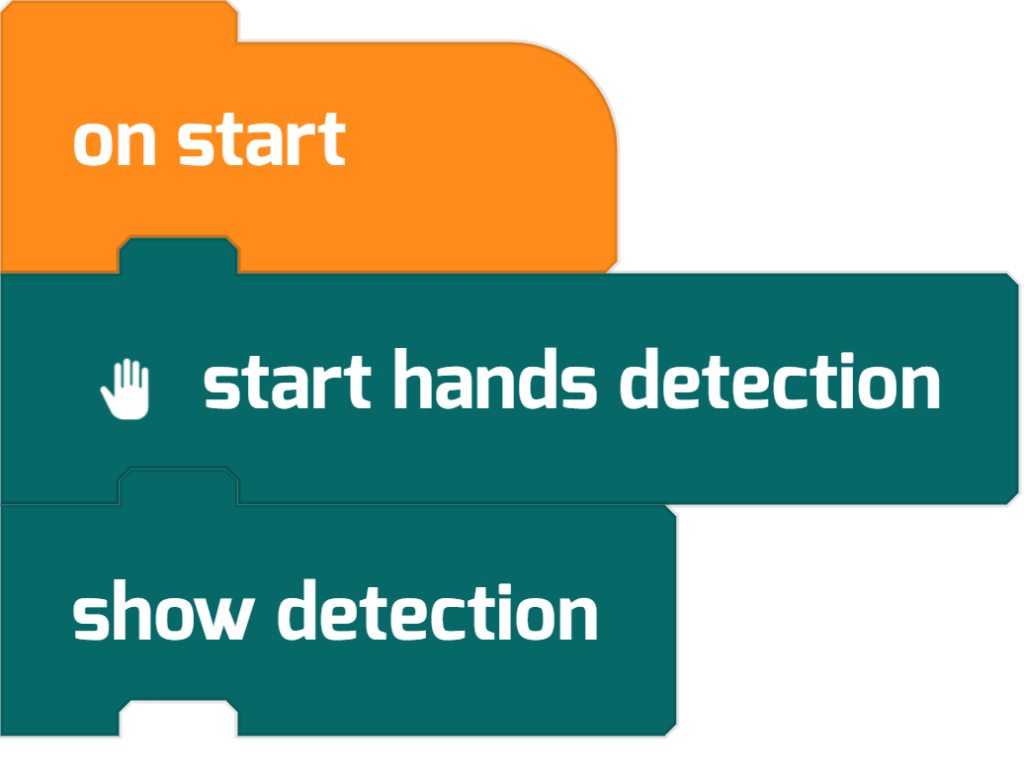
Let’s start by creating a hand-tracking project. This simple script will follow your right hand’s index finger’s tip as it moves, stamping copies of itself on the screen. It might look a little like this:

First we’ll enable the hand-tracking system and show the detection. This will give you a hint at your hand’s locations on the stage. If you press Play after writing this code, you should see a “skeleton” of your hands appear on the stage, following their movement. You may need to Allow webcam access.
Then draw a paint splotch or another “mark” to follow your finger (Add Actor > Drawing Tool). Write the following code so that this actor always follows the finger. The stamp command draws a copy of the actor as it goes, leaving behind a trail wherever your finger went!
Make a mess? Use the clear block to remove stamps or other pen marks. And check out the Sock Puppet tutorial for more cool Hand-Tracking ideas.
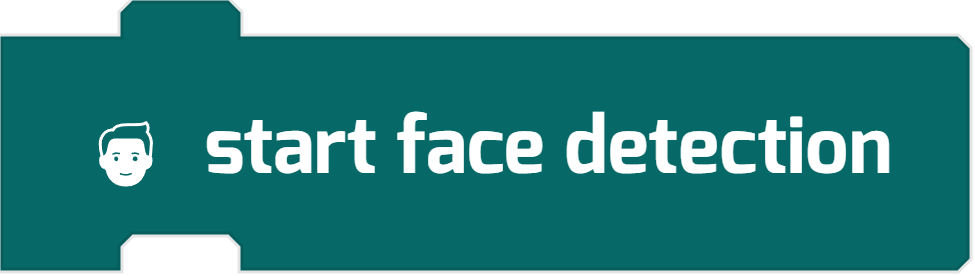
Project #2: Cowboy Mustache
The face tracking blocks are perfect for inventing a “Photobooth” app where kids can put on funny costumes using live video. We’ll use the AI blocks to create a smarter costume that follows your face, dynamically, as you move around the screen!

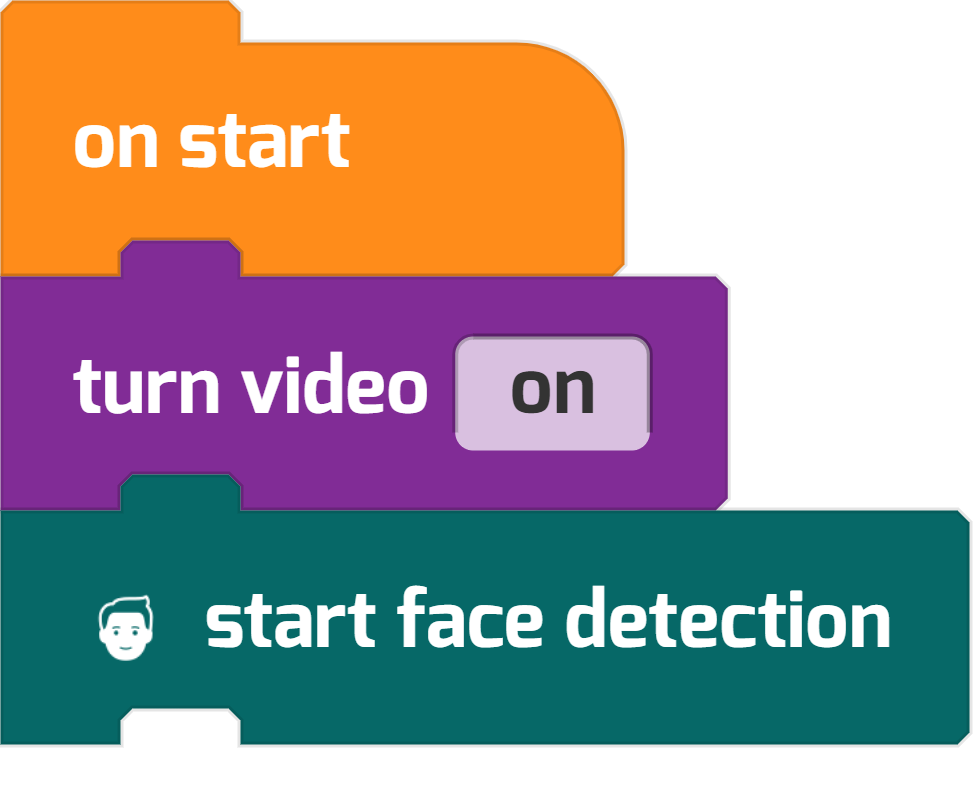
Here’s the simple script to start the AI system and the live video.
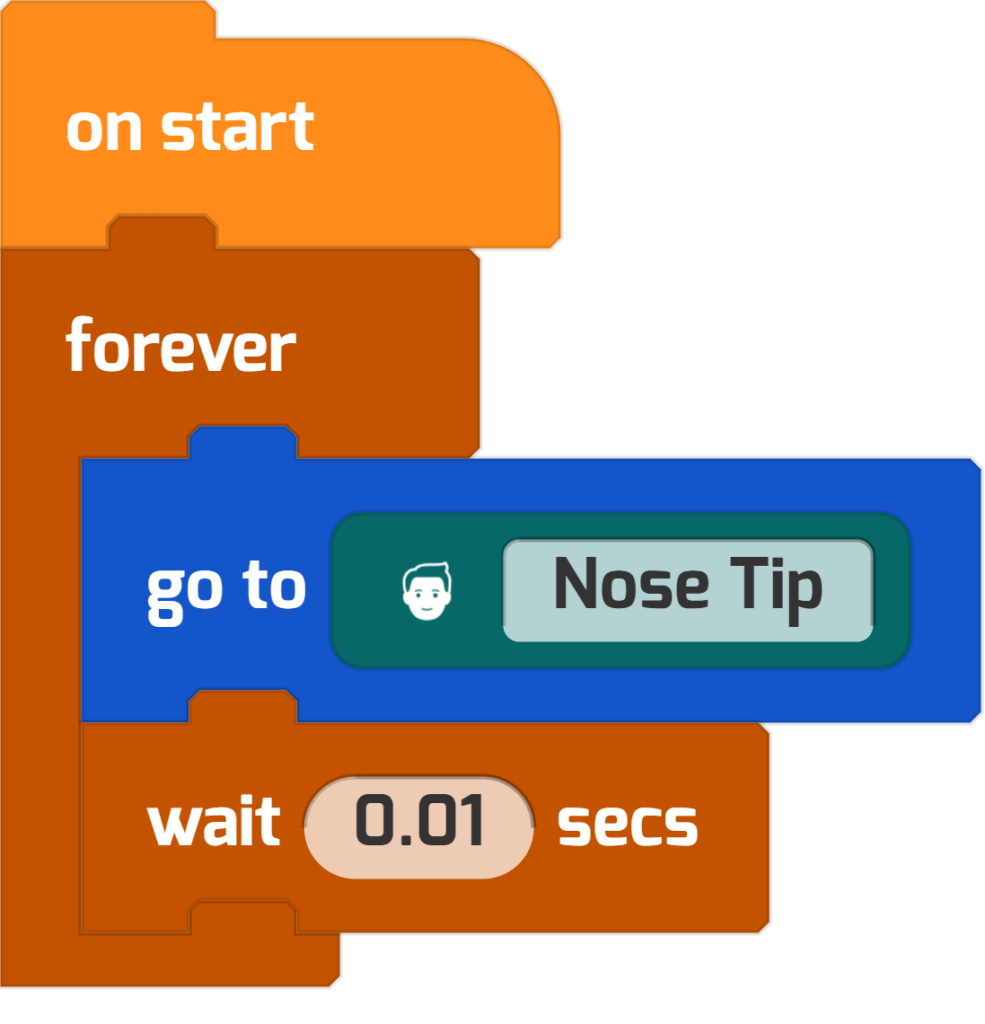
Here’s the script for a Mustache actor. It goes right to the tip of your nose, no matter where you move. Try drawing a custom ‘stache of your own (Add Actor > Drawing Tool), then add this code:
Play your project to make sure it behaves like you expected. Wherever you move, your costume should move with you! Here are some ideas to extend this project.
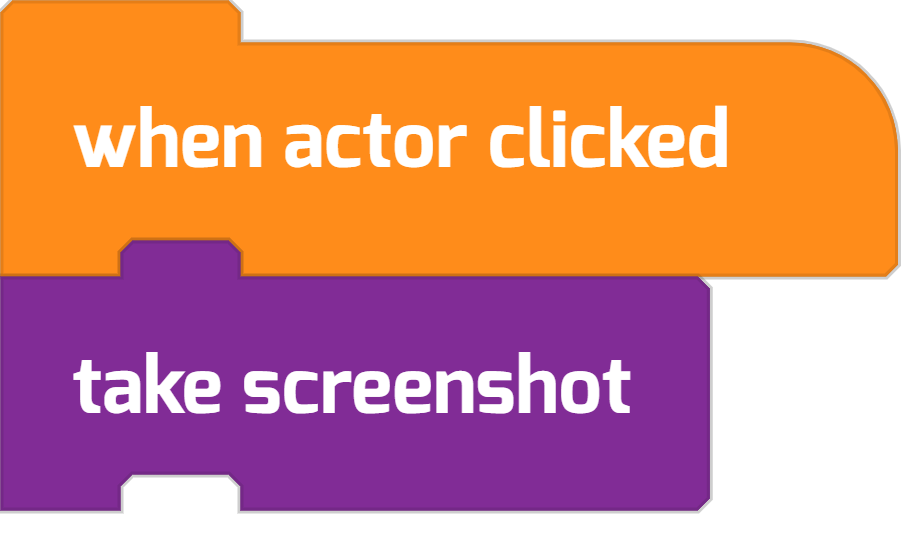
Take A Selfie. Use the take screenshot block. Here’s a script for a button actor.
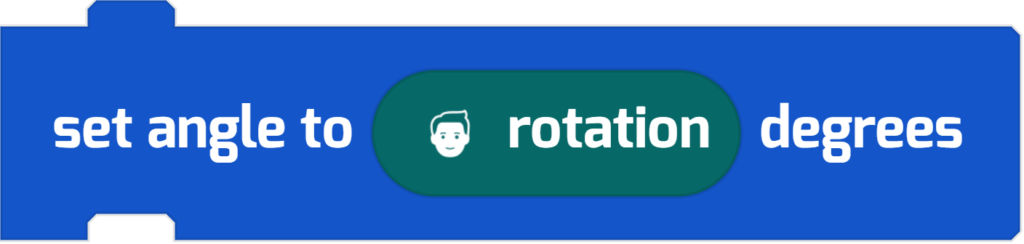
Match The Angle. Want to make a hat costume that seems to stay on your head? Just change the mustache script to use a different landmark (for example, change Nose Tip to Forehead). Then add a block like this so it matches your head’s rotation!
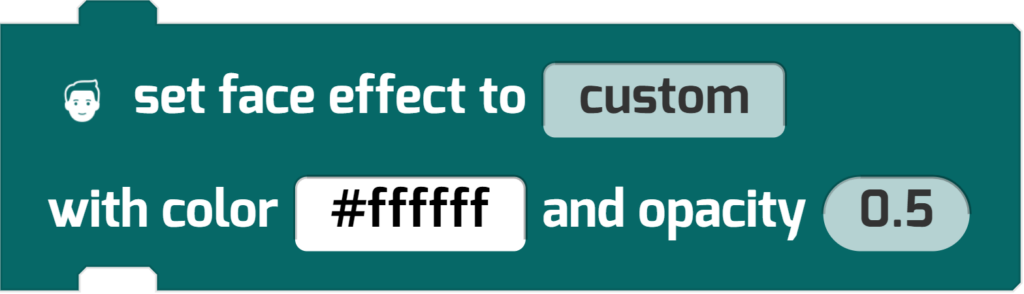
Custom Facepaint. You can even create facepaint with the face effect block. Use this block, then choose Custom > Edit, and then make a cool carnival-style costume of your own design!

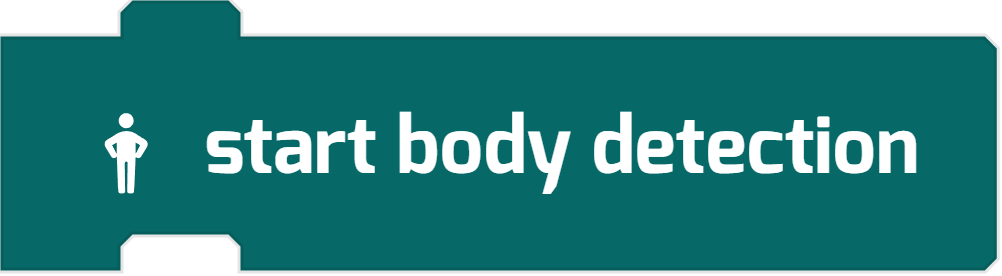
Project #3: Greenscreen
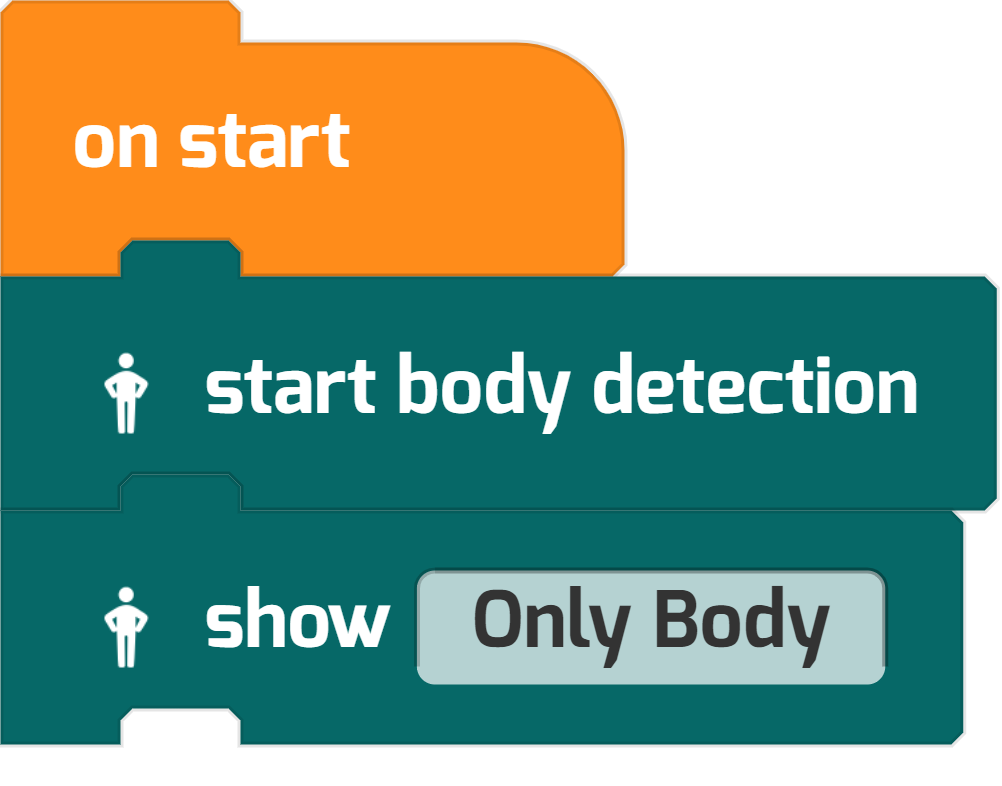
Now let’s try working with the Body Detection blocks to create a virtual greenscreen effect. Where do you want to visit? Make sure to add a custom background (Stage > ⚙️ >Add Background). Then add the following code to your Stage.
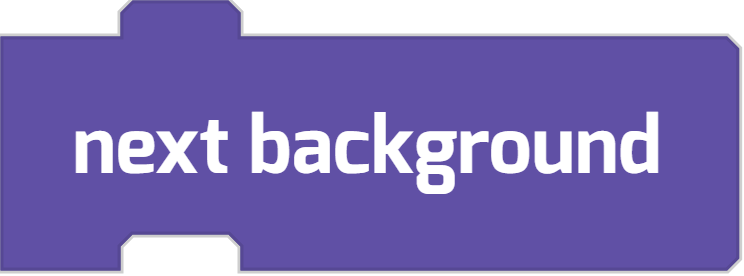
That’s it! Try adding controls to switch backgrounds or give yourself costumes.
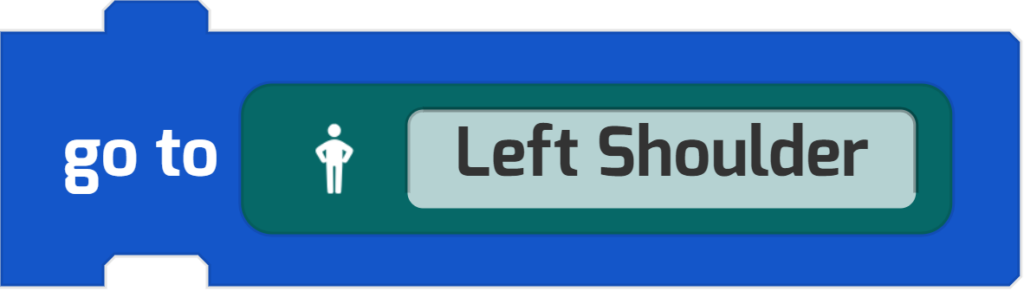
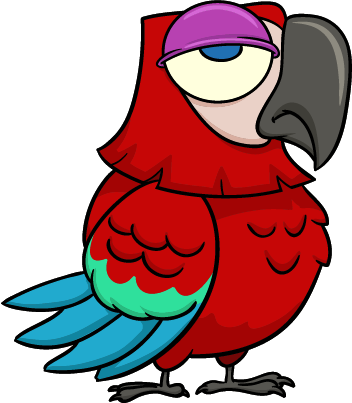
Want to add a parrot who sits on your shoulder? The Body Tracking blocks use landmarks, too.
Project #4: Little Bit Louder Now
The Natural Language Processing blocks are a little different. You don’t need a webcam to use them. And unlike these other AI block families, you’ll have to “train” your AI to make smart decisions. Let’s see how they work.
Here’s the big idea of this project: an actor called Speakers plays a song on repeat. The user can type input, which has one of three possible responses:
- The music’s volume increases
- The music’s volume decreases
- The music continues to play with no changes
The interesting thing is that the interface will be natural language, rather than buttons or a volume knob. You can type all kinds of unusual phrases that your program will try to categorize into the correct response. You might type, “Can’t hear you at all dude” or “Pump it up” and the AI will understand your request, raising or lowering the volume, like magic!

The more you train, the smarter the AI gets. Let’s dive in.
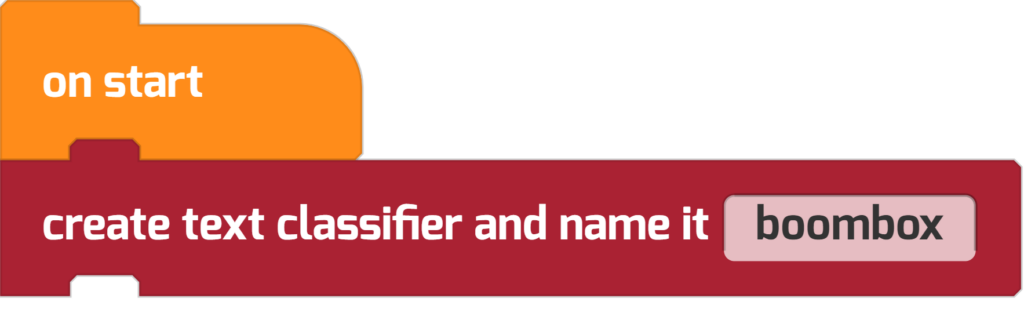
Create the Classifier
First, we’ll need to create a text classifier. This boombox now does the NLP work in our project.
Then with that complete, we’ll train the classifier using some common phrases for turning up, turning down, and doing nothing to the music.

This code associates a series of phrases with intents in our text classifier named boombox.
Notice how the three intents are called louder, softer, and nothing.
You can add and remove phrases to each intent using the (+) and (-) buttons. The more phrases you give the AI, the more likely it will be able to understand you.
Play Music
We also need to play the music continuously. Choose a song you like or upload your own.
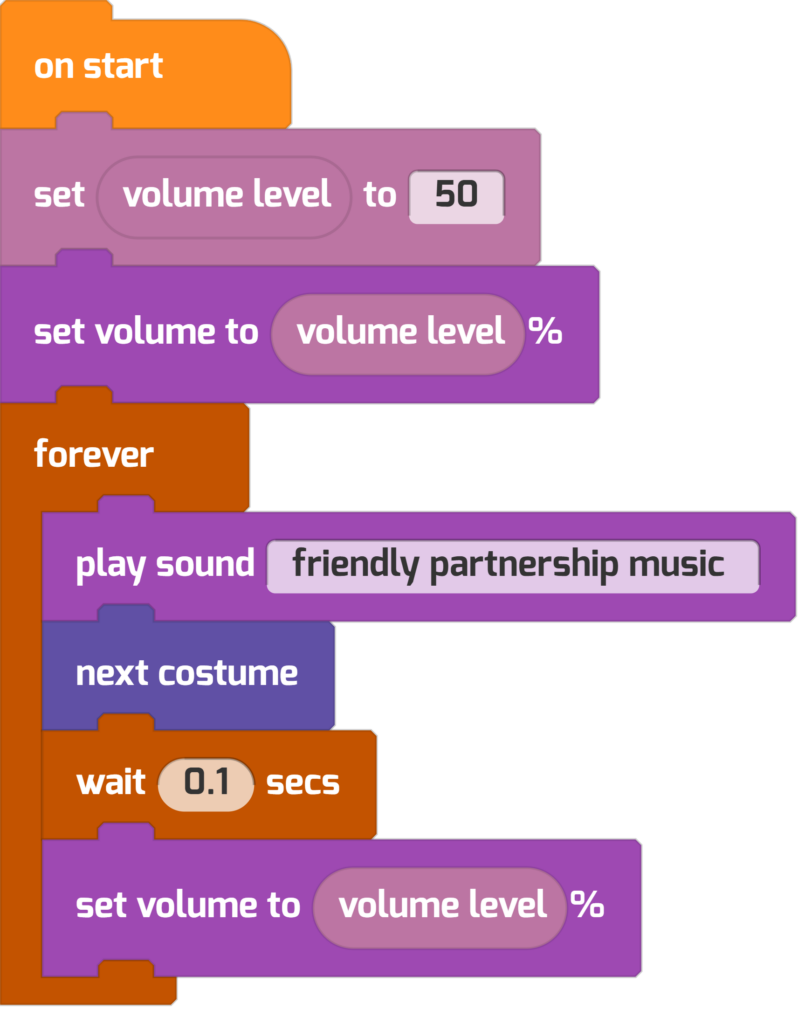
Notice how we created a global variable called volume level and give it a starting value of 50%. The variable is also set in the forever loop so that any changes to the volume level are heard right away.
Prompt User Input
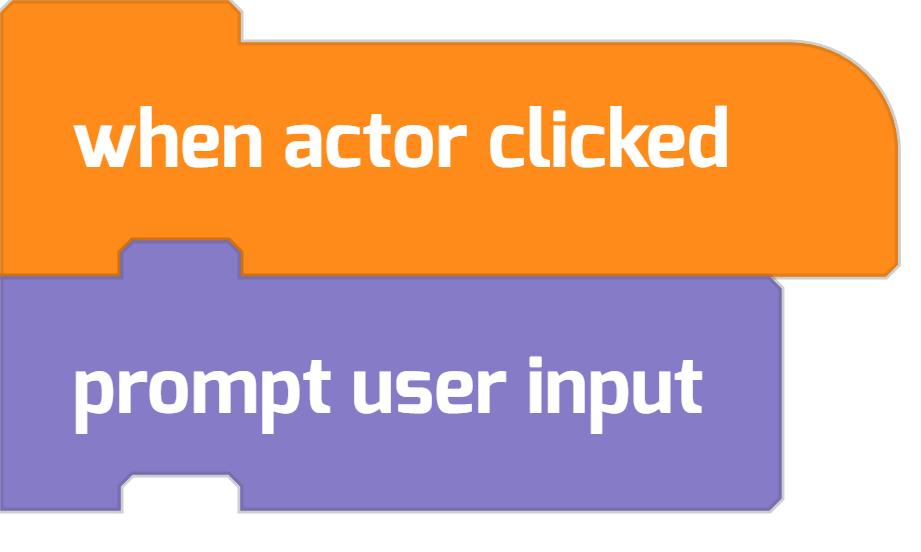
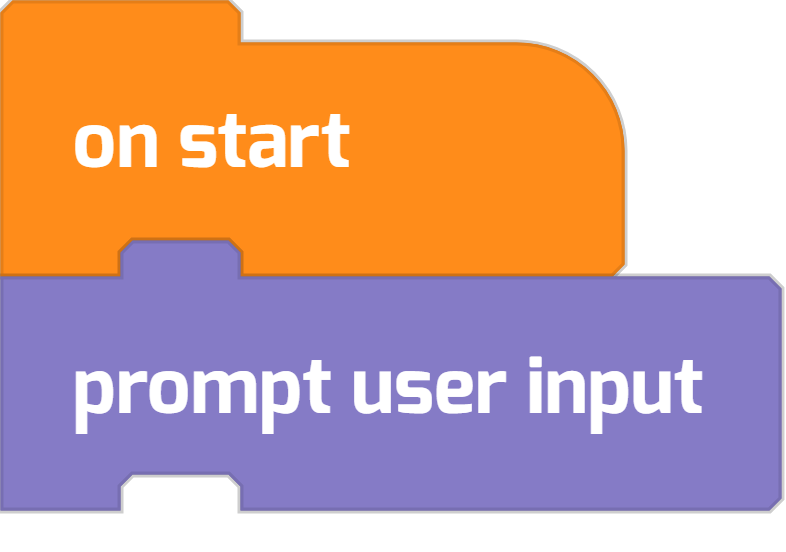
Of course, we still need to get the user’s input and program the volume level to change, too. Here’s how that works. We’ll organize a request for user input into a function called prompt user input.
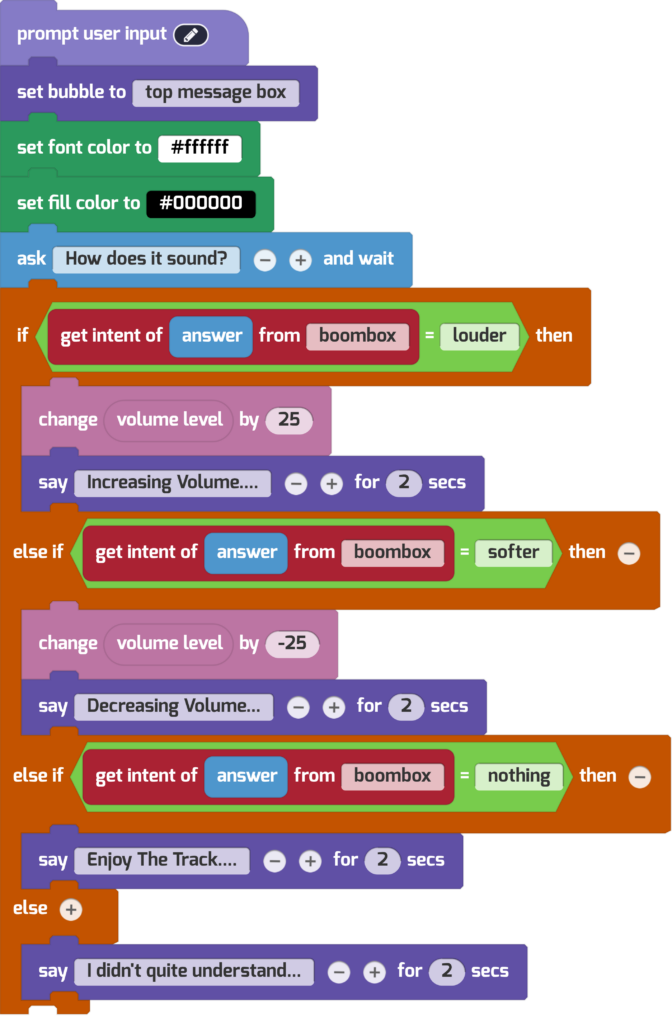
First, the script does some text formatting work, setting the style and colors of speech bubbles. Then the user is prompted to answer the question, “How does it sound?”
The user’s answer is captured using the ask blocks, and the answer is fed to the NLP classifier called boombox. The resulting intent can be one of four options, which are handled by the if-else statement.
The function is then called on startup. And there’s a button on-screen that the player can click to make volume adjustments afterwards, too.
Try changing this project up to suit yourself!
Want to create a chatbot? You can make your AI respond using blocks like this!

Don’t Forget: Recorded Webinar
Join Tynker for a training session where the experts will walk you through the AI blocks and how they can be used. We can’t wait to see what you’ll invent with the powerful new AI blocks.
More Activities
Looking for more FREE coding activities? Check out our Tynker Toolbox articles!
- Tynker Workshop Basics — Learn about coordinates and start coding with Tynker.
- The Animation Tool — Learn about frame-based animation and other animation tips.
- The Character Creator — Take control of custom rigs using the Animation blocks.
- Text Tricks — Work with speech bubbles and more. Tell your own stories, put on a play, or make a computer write poetry!
- The Sound Blocks — Play music with code! Add custom sound effects, too. Tynker’s brand new music tool supports MIDI and MP3.
- The Synth Blocks — Create your own sound effects and instruments! You can create crunchy dubstep drops, glitchy chiptunes, or instruments from any style of music you can imagine!
- Code Block Tricks — Get top-secret ninja tips for writing code fast in Tynker Workshop.
- The Pen Blocks — Make your actors draw as they move. Create patterns, draw geometric shapes, and more.
- The Physics Blocks — Create games or simulations with gravity, collisions, and more. Think: Angry Birds and Marble Madness.
- The Augmented Reality Blocks — Want to use video or photos in your programs? Try the AR Blocks, which let you code your own selfie!
- The Debugger — Learn about Tynker’s data debugger and get bug-fixing tips.
- The Python Editor — Looking for a challenge? Ready for your next step on your coding journey? Learn Python with Tynker too, and take the plunge into text-based coding.


