
Table of Contents
New! Learn How to Draw Custom Graphics with the Tynker App
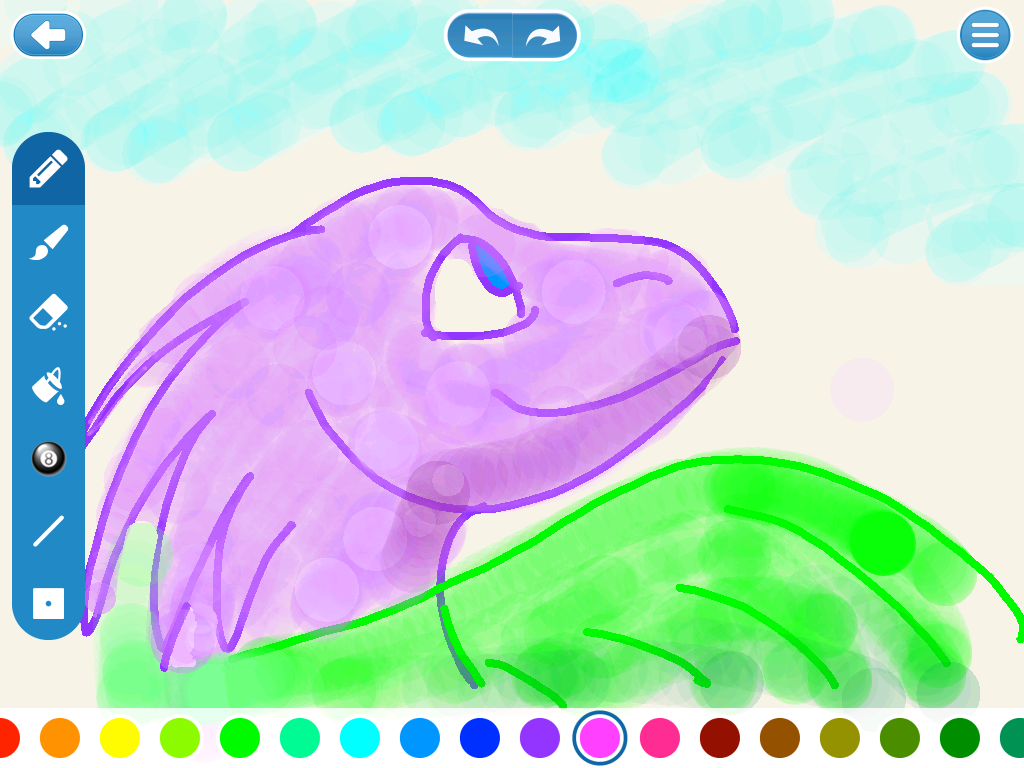
With the new Tynker app update, children can draw their own assets for the games and projects they program. This gives them an awesome new degree of freedom to create fun and exciting projects. From designing game assets to drawing Actors for school projects to creating custom stop-motion animations, Tynker’s new drawing tool allows children to take their programs to the next level.
Download the Newest Version of the App for Free
Make sure your app is up to date. Download the newest version for free for your Android or iOS tablet.
Create a Drawing
To draw an Actor, click on the blue plus sign in the upper right corner. Choose “Draw Your Own” from the options.
To draw a costume for an existing Actor, click on that Actor from the Code view and open its Properties. From here, you can click the blue plus sign to add a costume.
To draw a background, click on the Stage from the Code view and open its Properties. From here, you can click the blue plus sign to add a scene.
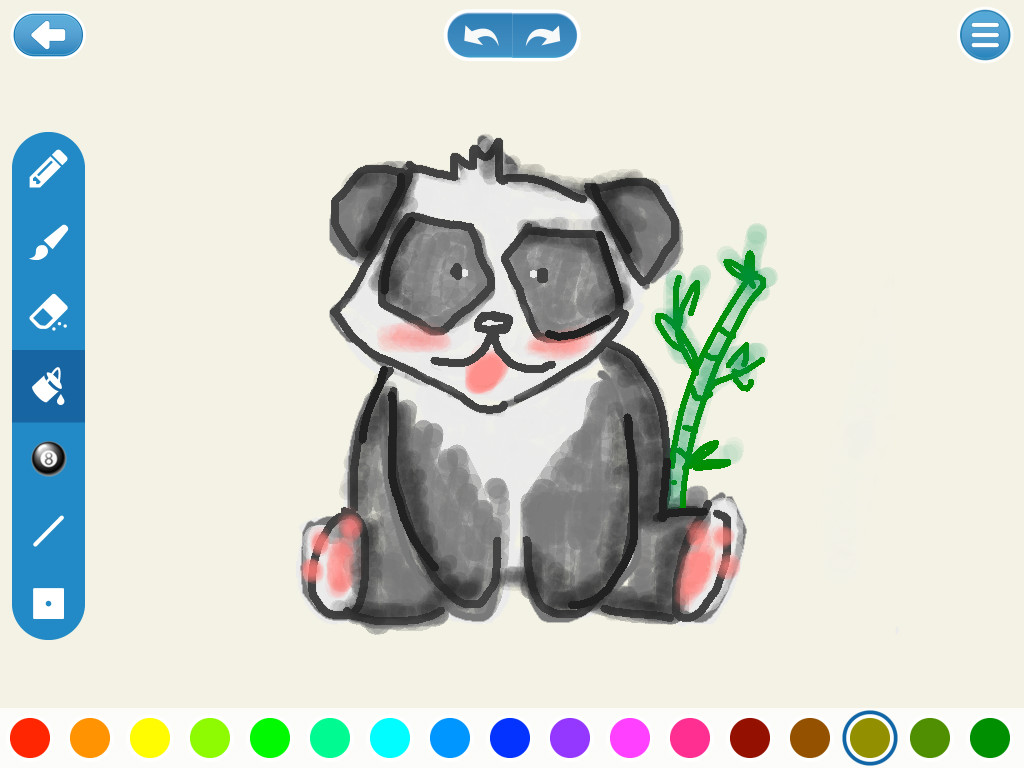
Get Familiar with the Tools
Pen – The pen allows you to draw fully opaque lines. You can change the size of the pen by clicking on the pen when it is already selected.
Brush – The brush allows you to draw partially transparent lines. You can change the size and transparency of the brush.
Eraser – The eraser allows you to erase anything you didn’t mean to do. You can make any part of your drawing fully transparent by erasing it. You can change the size of the eraser.
Paint Bucket – If you have an enclosed area, you can fill it in with a single color using the paint bucket. You can change the transparency of the bucket.
Stamp – The stamp allows you to stamp the screen with any of the preselected stamp choices. You can change the transparency of the stamp.
Shape – This tool allows you to add lines, squares, and circles. You can choose the size and transparency.
Align – This advanced tool changes where the center of the image is. This will change how the image rotates.
Any area that does not have color on it will become transparent when you save.
Create an Animation
To create a stop-motion animation, you need to create an original drawing. Then click on that Actor and go to its properties. On the bottom left, you’ll see that your drawing only has one costume. Click the double page icon to duplicate that costume, then click on the pencil icon next to the copy. In the drawing tool, make some small changes to the copy.
When you’re done, you can use the “next costume” and “wait” blocks inside a “forever” loop to switch back and forth between the costumes.
Easy animations that students can make with the drawing tool include a walking stick figure (with the legs in different positions), a flying bird (with the wings going up and down), and a smiling blob that changes facial expressions. What else can your students make?


